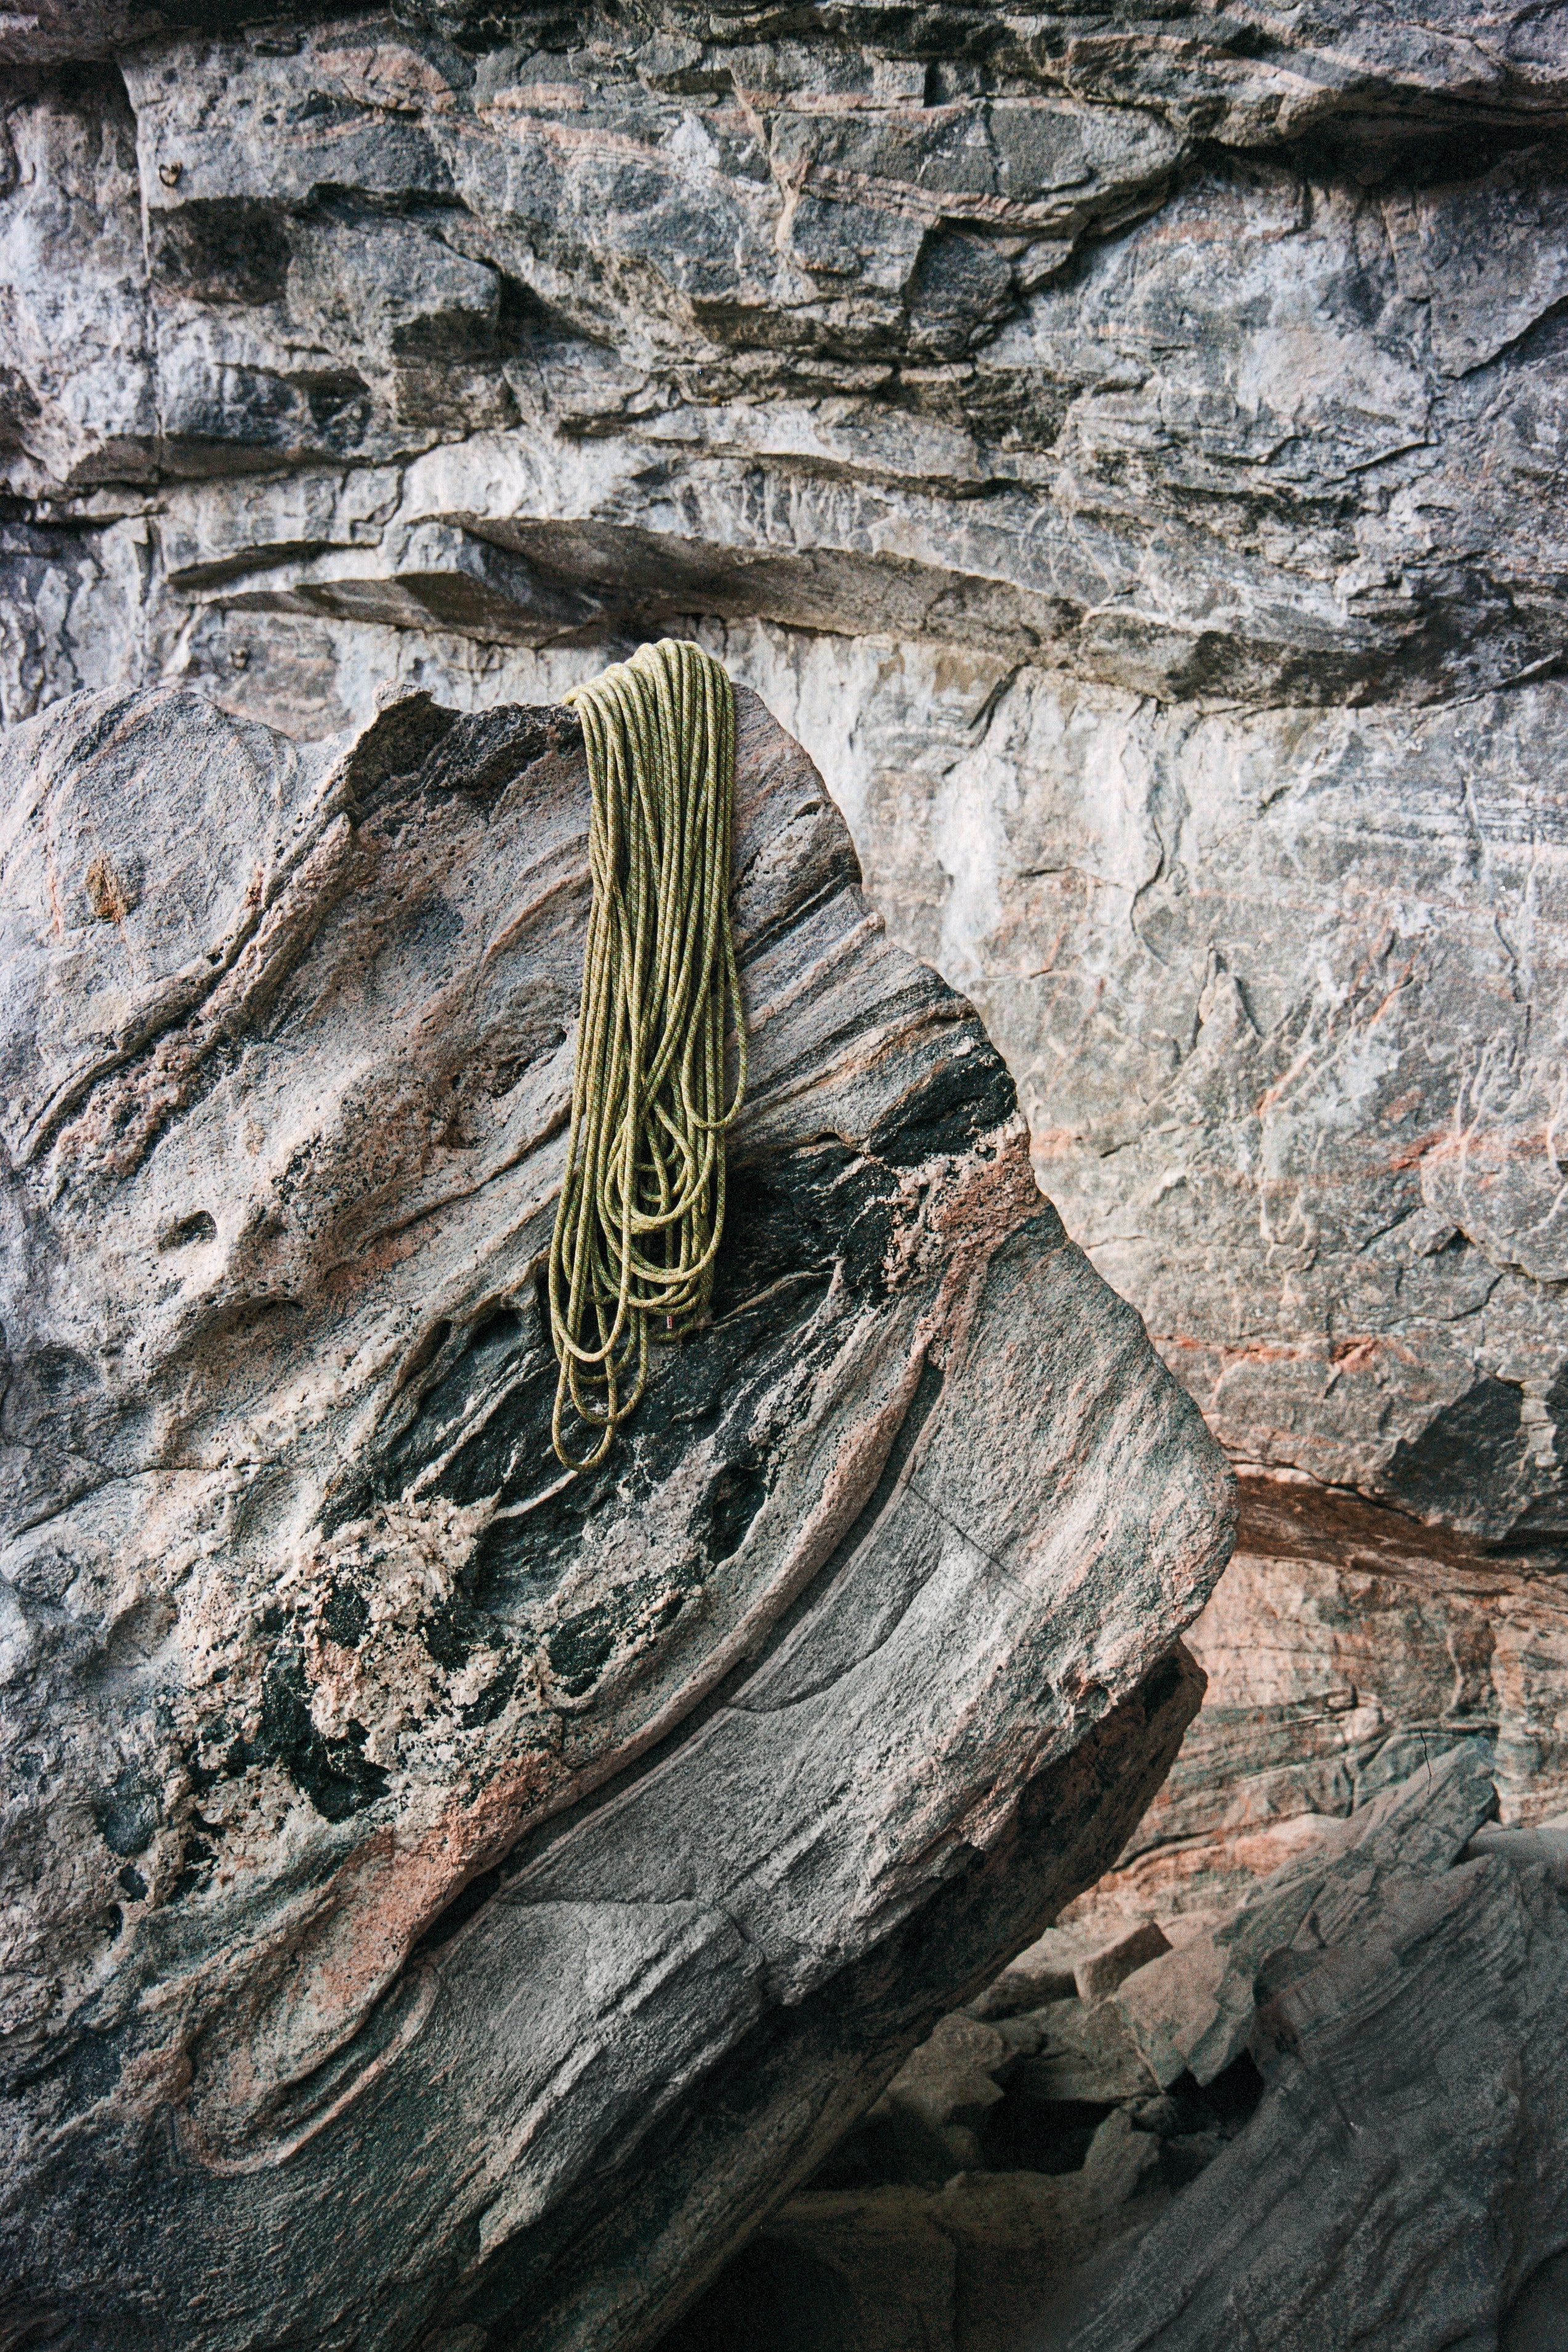
Part 3: How do I cut my damaged rope?
As we’ve discussed, just because your rope is damaged doesn’t automatically mean retiring it. If your rope is damaged at the end, you can consider cutting it above the damaged section to maintain your rope.
If you have a local climbing gym or climbing store, they may have a heat cutter, so you can skip the DIY and ask them to do it for you. If not, check out the below steps to ensure you cut your rope correctly for safe climbing.
-
Check for damage
We mentioned this in our previous blog (Part 1 – click here if you missed it). Check this out if you’re unsure whether your rope is damaged or not. If your rope is damaged and you’re considering cutting it, make sure you’ll still have enough rope length to ensure a usable rope, otherwise retire it.
-
Find the tools
Rope (damaged section marked)
Heat cutter or sharp knife
Climbing tape or strapping tape works best
Lighter
Permanent Marker
-
Tape & Cut
Tightly wind some tape where you plan to make the cut. Ensure it is stuck down well and is on the correct side of the damage.
Take your knife and cut through the tape as cleanly as possible.

-
Melt the core and sheaths
To fuse the core and sheaths together, you need to use your lighter. Hold the flame to the cut for a few seconds until you start to see them melting together. Use a heat proof surface to press them together as shown in the video.

-
Write a new length and mark the new middle
Make sure you write the new length of your rope on the remaining tape and mark the middle point of your rope. Mammut suggest using the Edding 3000 (if you can find one) as it’s been tested to last and not compromise your rope. There are also specific rope markers available for purchase from climbing stores.

Next week we discuss how to wash your rope to avoid excess wear. Stay tuned for Part 4.
Read more

When should I retire my rope? Deciding to retire your rope can be hard. You’ve had some great sends with that rope, been on some great adventures, struggled through hard times and achieved great th...

Part 4: How do I wash my rope? Who doesn’t love a clean rope? No more black hands after belaying your friend on their project, bright coloured rope, easy to see the middle marking. Not only that, b...

